 |
|||
|
|
|||
|
Page Title:
REMOVE/REPLACE PRINT HEAD (Cont) |
|
||
| ||||||||||
|
|
 TM 11-7025-233-23
4-17. REMOVE/REPLACE PRINT HEAD (CONT)
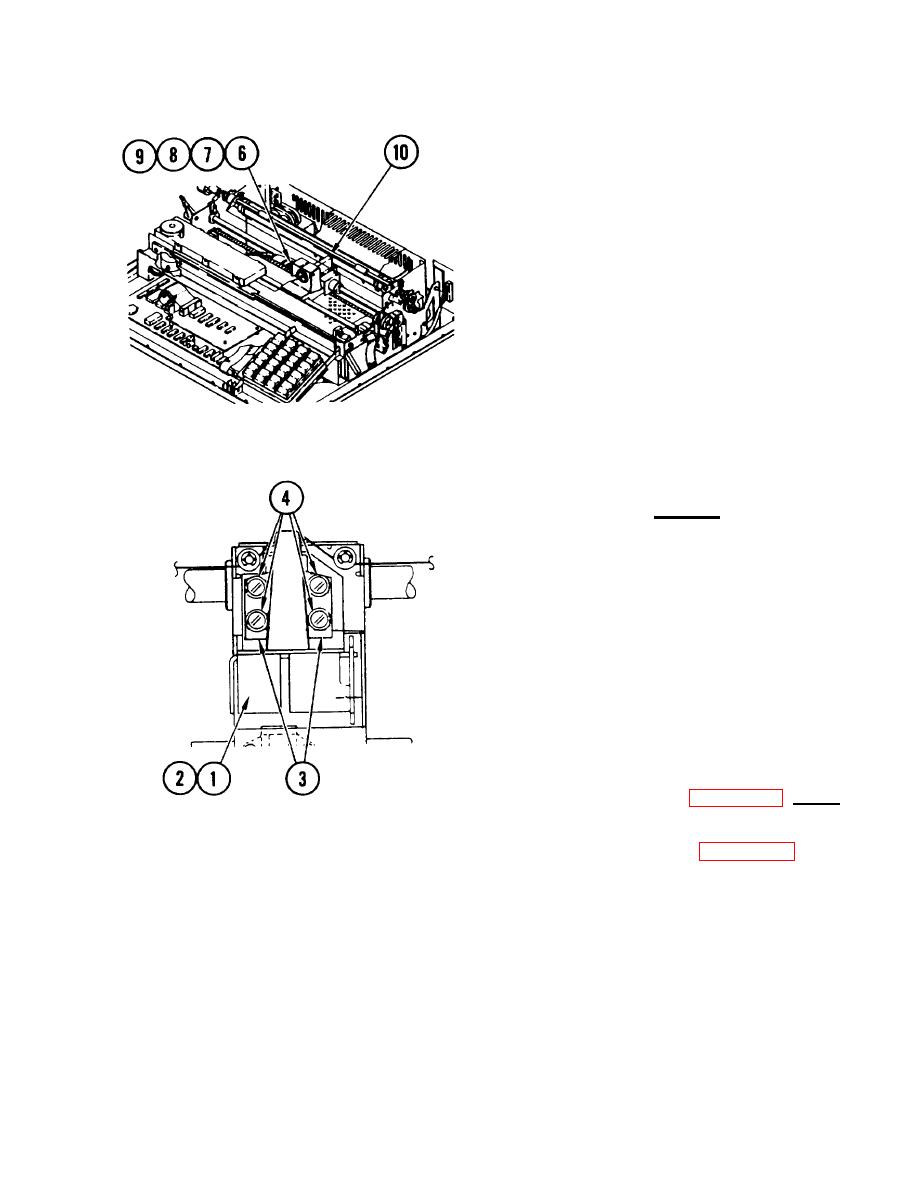
6. Move carriage to center position.
7. Pull up print head and cut tie wrap
on cable connector.
8. Pull print head and ribbon cable out
from carriage.
9. Disconnect print head cable from
bottom of print head.
10. Remove print head.
Replace
1. Connect ribbon cable to bottom of
print head.
2. Install tie wrap around cable
connector.
3. Place nozzle clamps in position with
flanges on outside edges facing
downward.
4. Fasten print head and nozzle clamps
with screws, lockwashers, and flat
washers. Do not tiqhten screws.
5. Close up printer (para 4-11, Close
--p, steps 1-4, 8, and 9).
U
6. Adjust print head (para 4-18, steps
2-3 and 5-15).
4-47
|
|
Privacy Statement - Press Release - Copyright Information. - Contact Us |