 |
|||
|
|
|||
|
Page Title:
REMOVE/REPLACE TRACTOR ASSEMBLY SPRINGS |
|
||
| ||||||||||
|
|
 TM 11-7025-233-23
4-55. REMOVE/REPLACE TRACTOR ASSEMBLY SPRINGS
INITIAL SETUP
Common Tools
q Tool kit
Remove
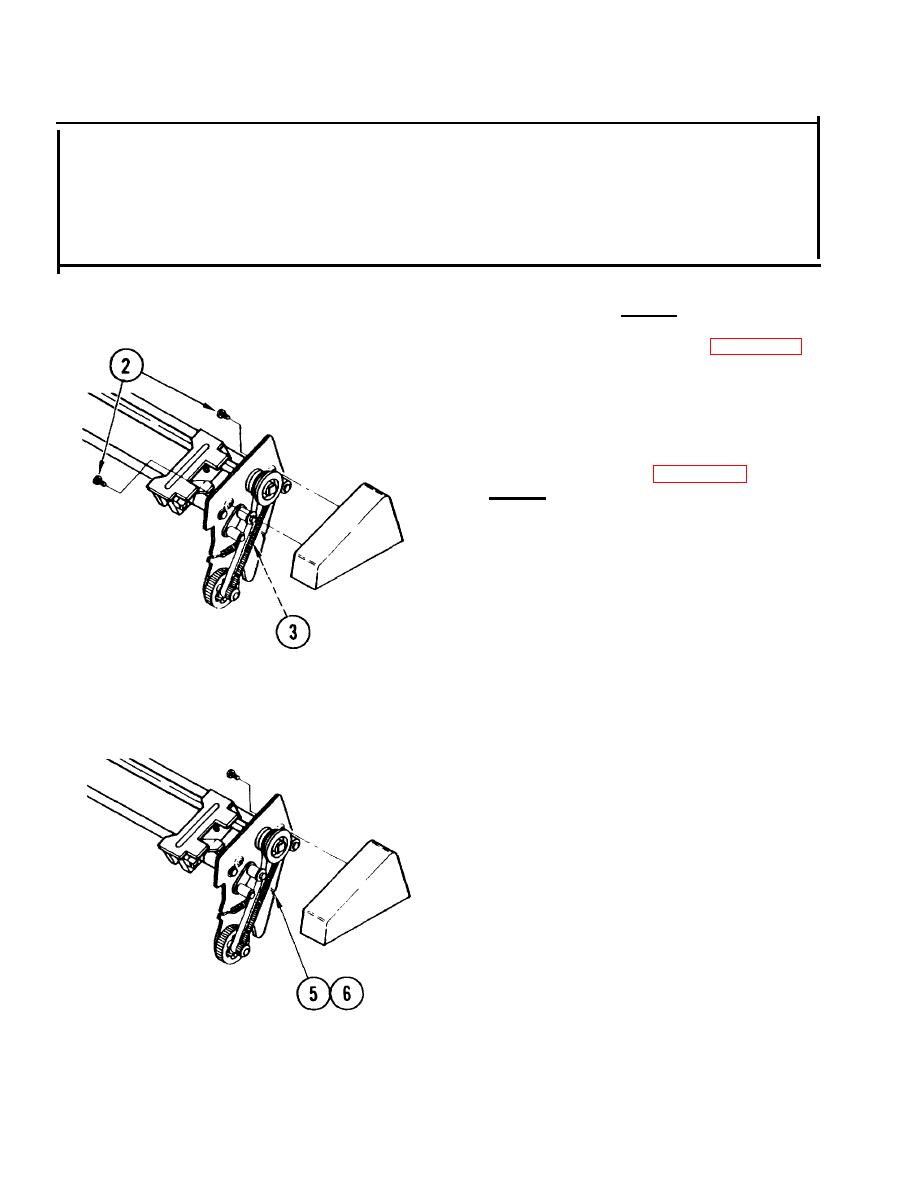
1. Remove tractor assembly (para 4-51).
2. Remove right and/or left tractor
covers by unscrewing two screws on
each side.
3. To remove right tractor spring(s),
remove drive belt (para 4-54,
Remove, steps 2-5).
4. Locate spring you will remove.
o If removing locking spring, go to
step 7
l If removing belt tensioning spring
go to step 5
5. Using long nose pliers, lift spring
end from notched side of frame.
6. Remove spring.
4-130
|
|
Privacy Statement - Press Release - Copyright Information. - Contact Us |
